Complete Step-by-Step Guide: /par Browser Redirect Flow in Postman
Auth Flow Postman Demo
Step 1: Get OpenID Configuration
Request: 10 - DC -> OFP: GET /.well-known/openid-configuration
- Send this GET request to discover the OpenID endpoints.
- The response provides:
authorization_endpointtoken_endpointpushed_authorization_request_endpoint(PAR endpoint)revocation_endpointuserinfo_endpoint
- These are automatically saved to environment variables.
Step 2: Set Context (Optional - Only applicable when DP specified in consent)
Request: 20 - Set Context [Postman only]
- Use this to set parameters like
dp_idfor the flow. - In the Params tab, enter a valid
dp_id(e.g., DP9876543210, DP9876543211) or leave blank to select at consent.
Step 3: Create and Sign the private_key_jwt
Request: 30 - Sign private_key_jwt [Utility]
- This request creates a JWT for client authentication.
- The JWT includes:
iss: your client_idsub: your client_idaud: the issuer URLjti: unique identifier (UUID)exp: expiration timeiat: issued at time
- The JWT is signed with your private key using PS256 algorithm.
- The signed JWT is saved to the
private_key_jwtenvironment variable.
Step 4: Sign the PAR Request
Request: 40 - Sign PAR request [Utility]
- This creates a signed request object (JWT) containing:
- Authorization details (consent information)
- Scope (e.g., "accounts profile")
- Redirect URI
- Code challenge (for PKCE)
- Claims
- Permissions (read_accounts, read_transactions, read_balances)
- The signed request object is saved to the
requestObjectenvironment variable.
Step 5: Submit the PAR Request
Request: 50 - DC -> OFP: POST /par
- POST to the PAR endpoint with:
client_id: your client_idclient_assertion_type:urn:ietf:params:oauth:client-assertion-type:jwt-bearerclient_assertion: the signed private_key_jwt (from Step 3)request: the signed request object (from Step 4)
- Response includes a
request_uri. - The test script constructs the authorization URL and saves it to
authCodeUrlenvironment variable. - View the Visualize tab to see the constructed URL with a "Copy to clipboard" button.

Step 6: Use the Browser Redirect
- Copy the
authCodeUrlfrom the Visualize tab (or from environment variables). - Paste the URL into your browser.
- Format:
{auth-endpoint}?client_id=...&scope=openid&request_uri=...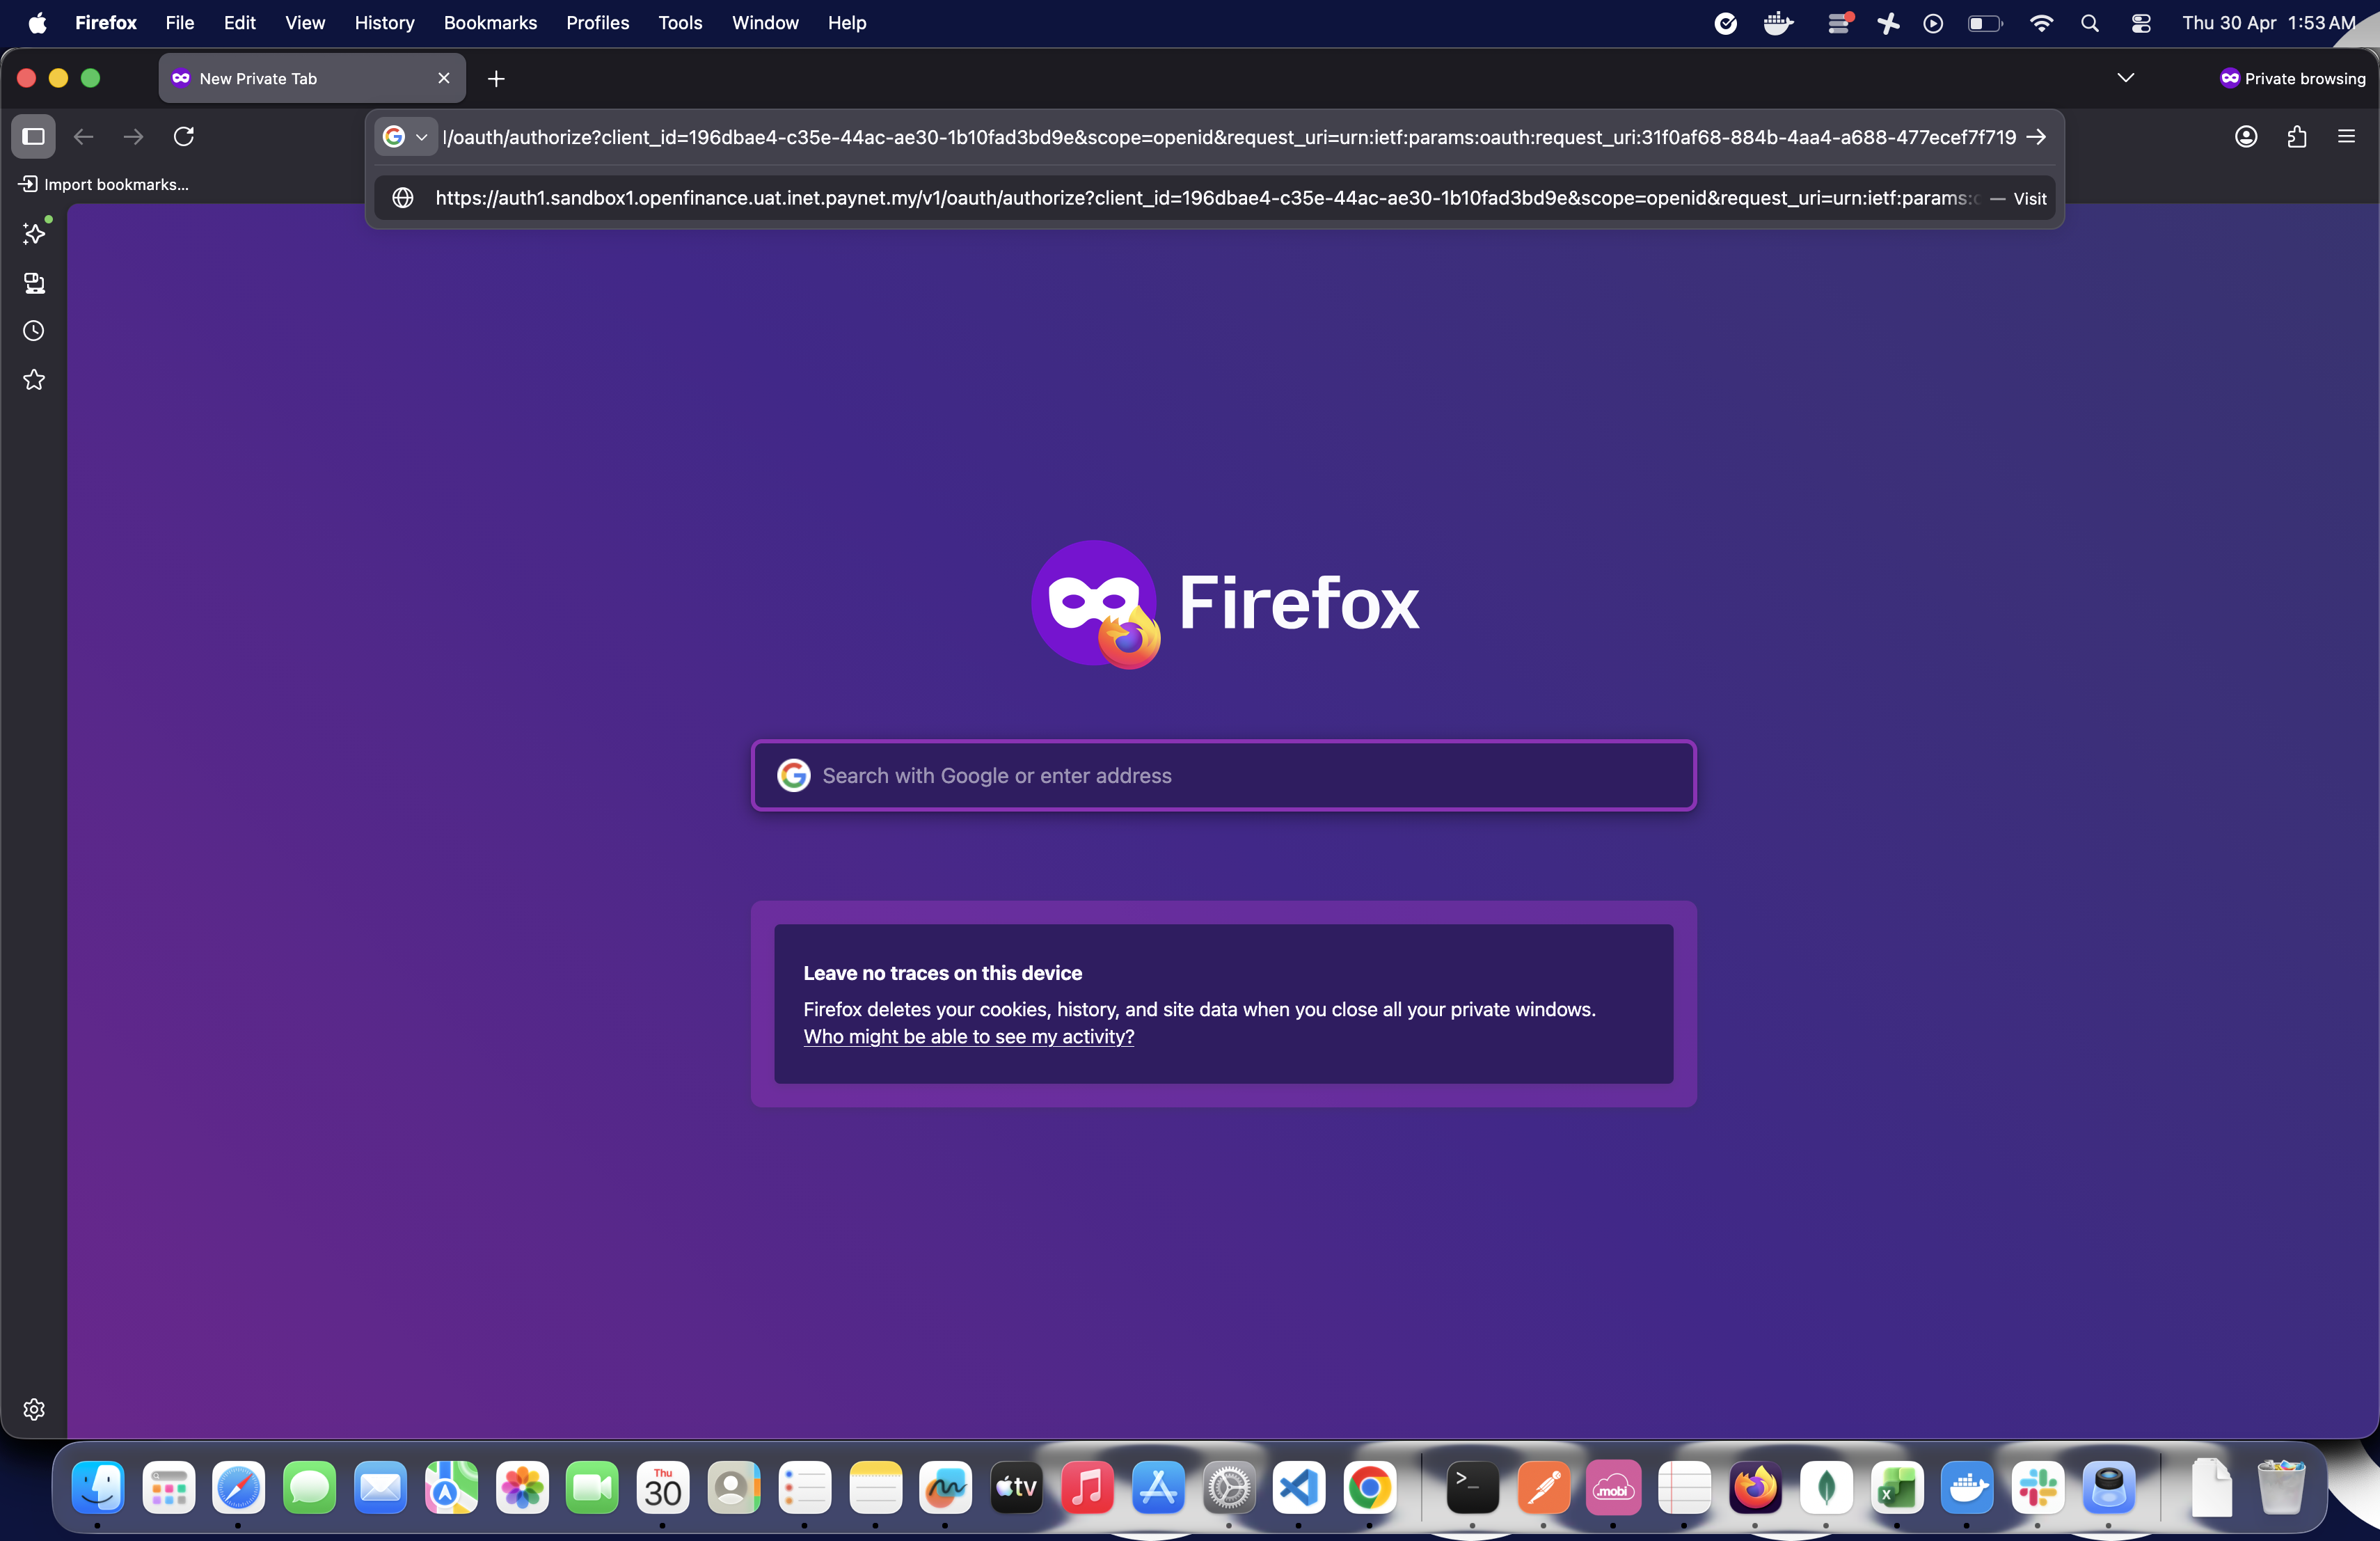
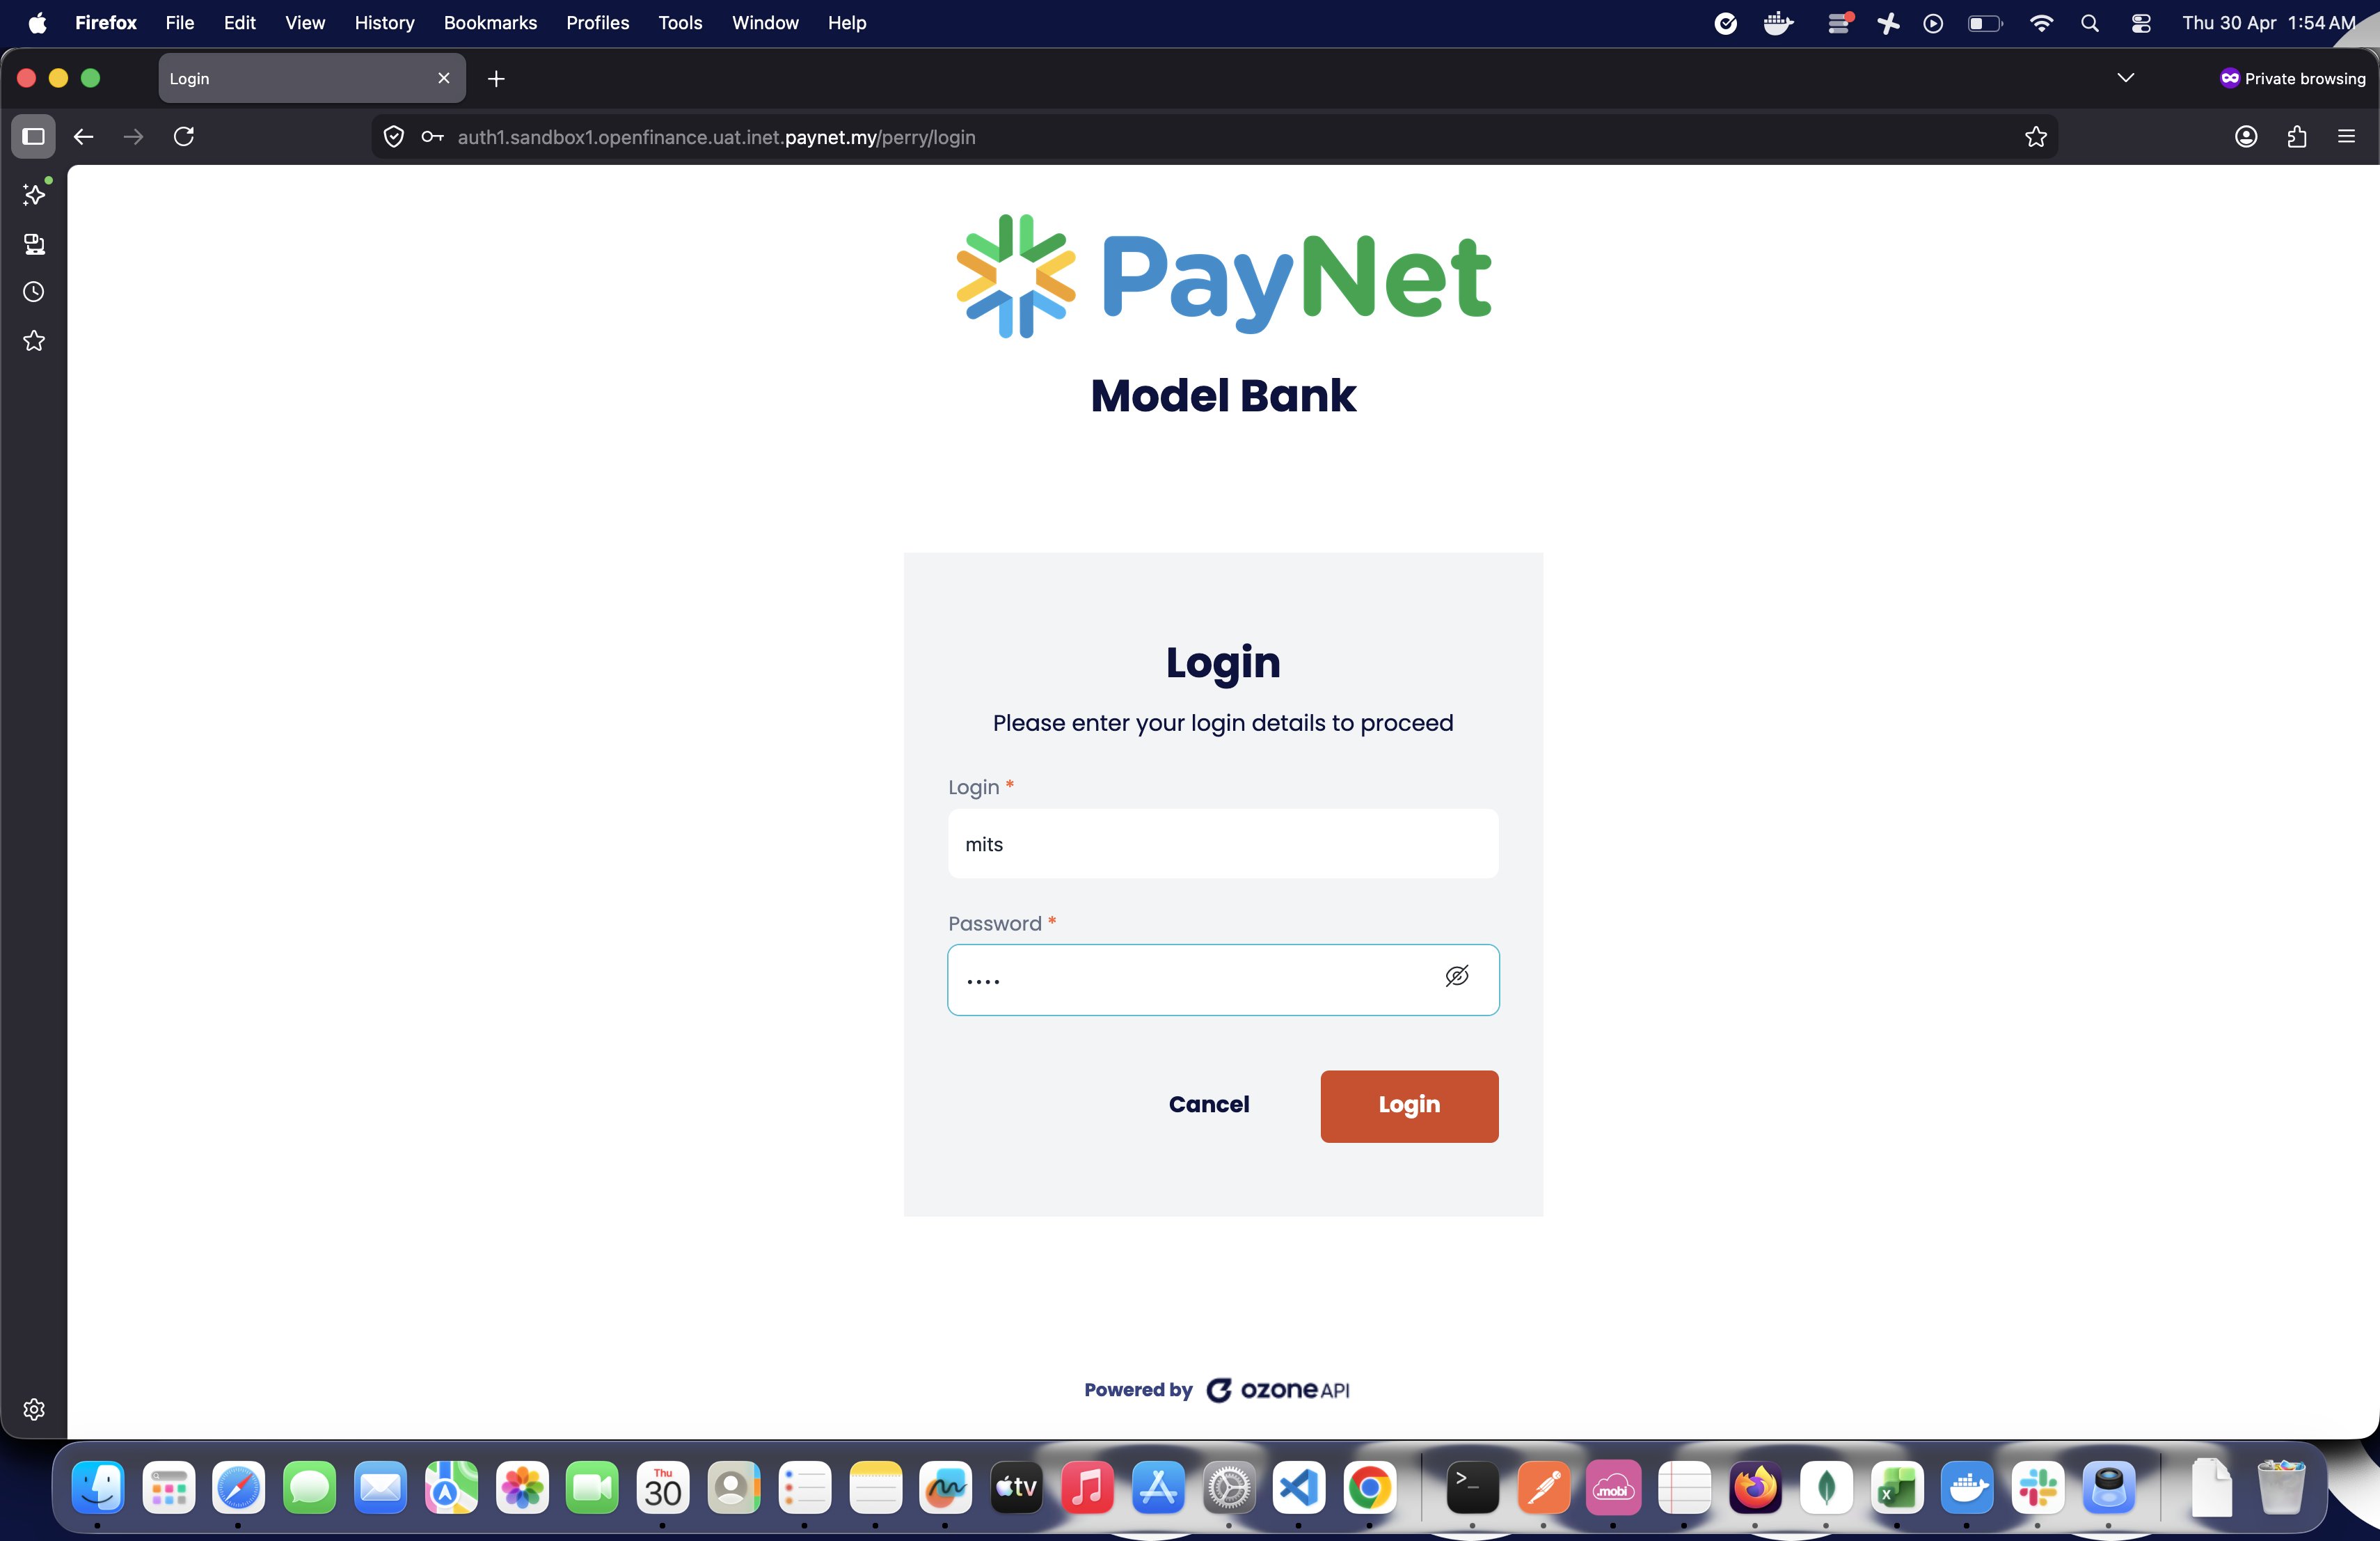
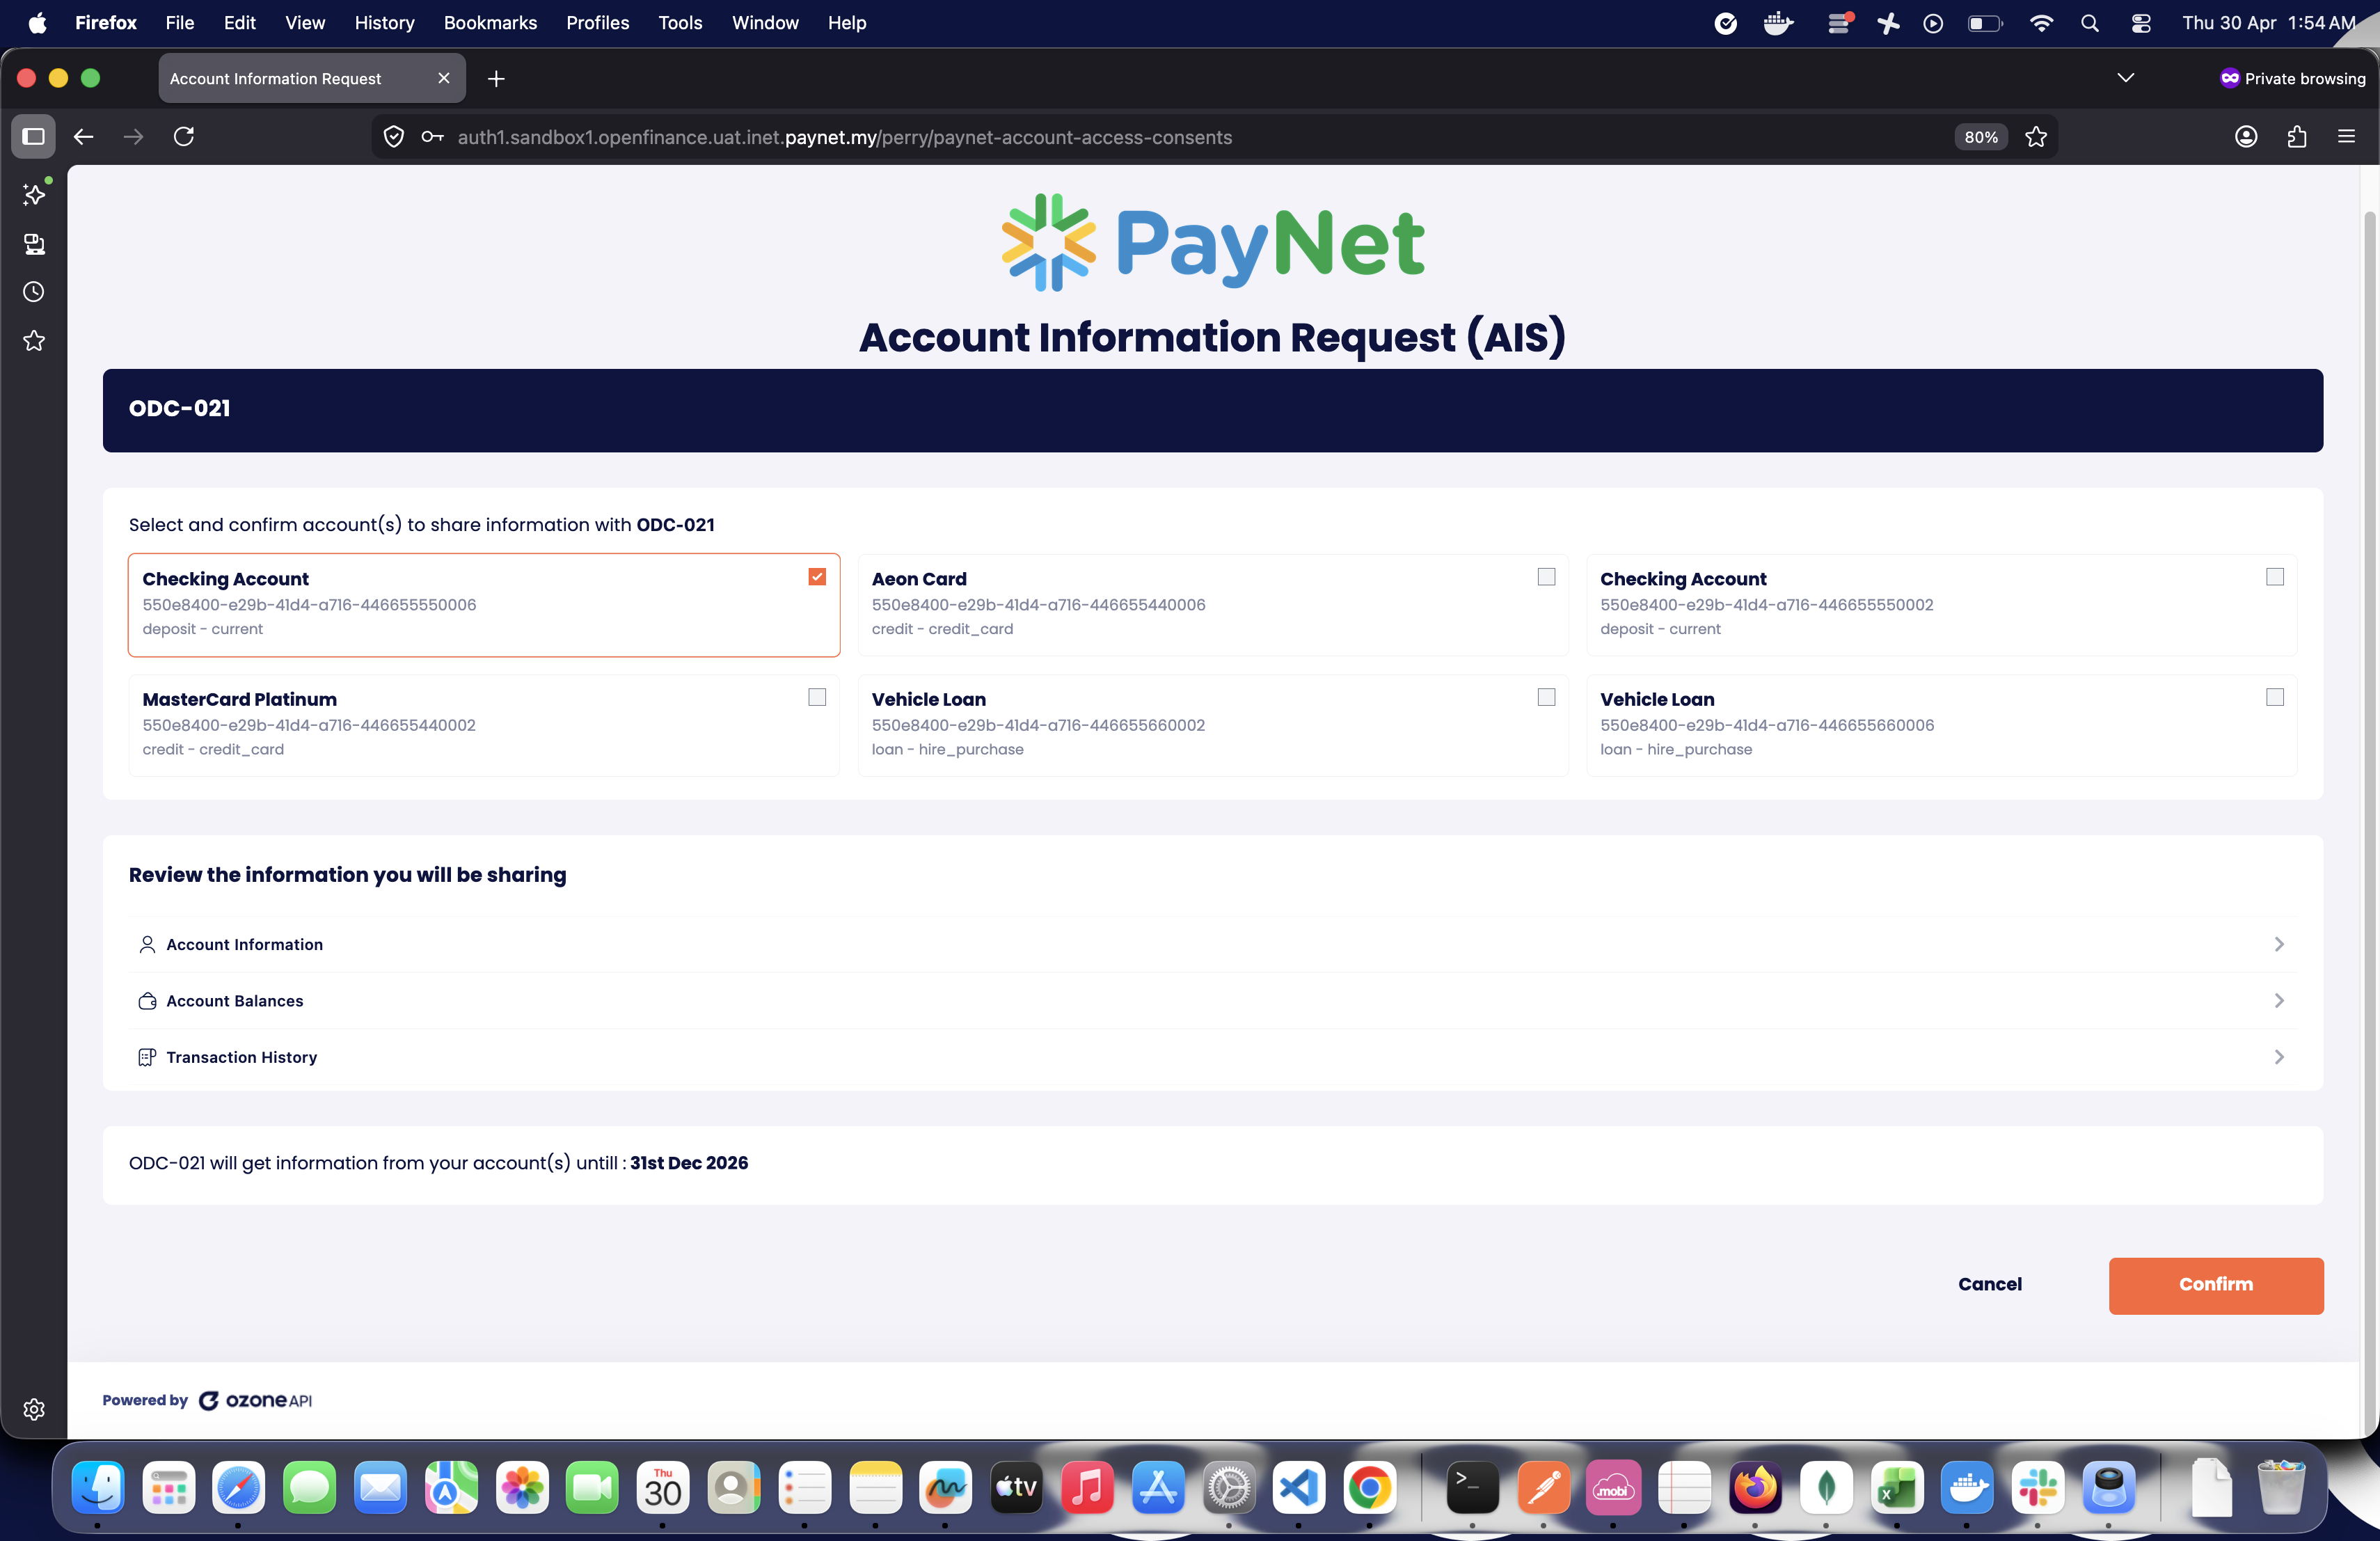
Step 7: Complete User Login and Consent
- The browser opens the authorization server's login page.
- Enter credentials and complete the login.
- Select the data provider (if not pre-selected).
- Approve the consent request.
Step 8: Retrieve the Authorization Code
- After approval, you're redirected to the
redirect_uriwith query parameters. - Example:
https://www.auth-app.ozoneapi.co.uk/redirect-url?code=AUTHORIZATION_CODE&state=... - Copy the value of the
codeparameter from the browser's address bar.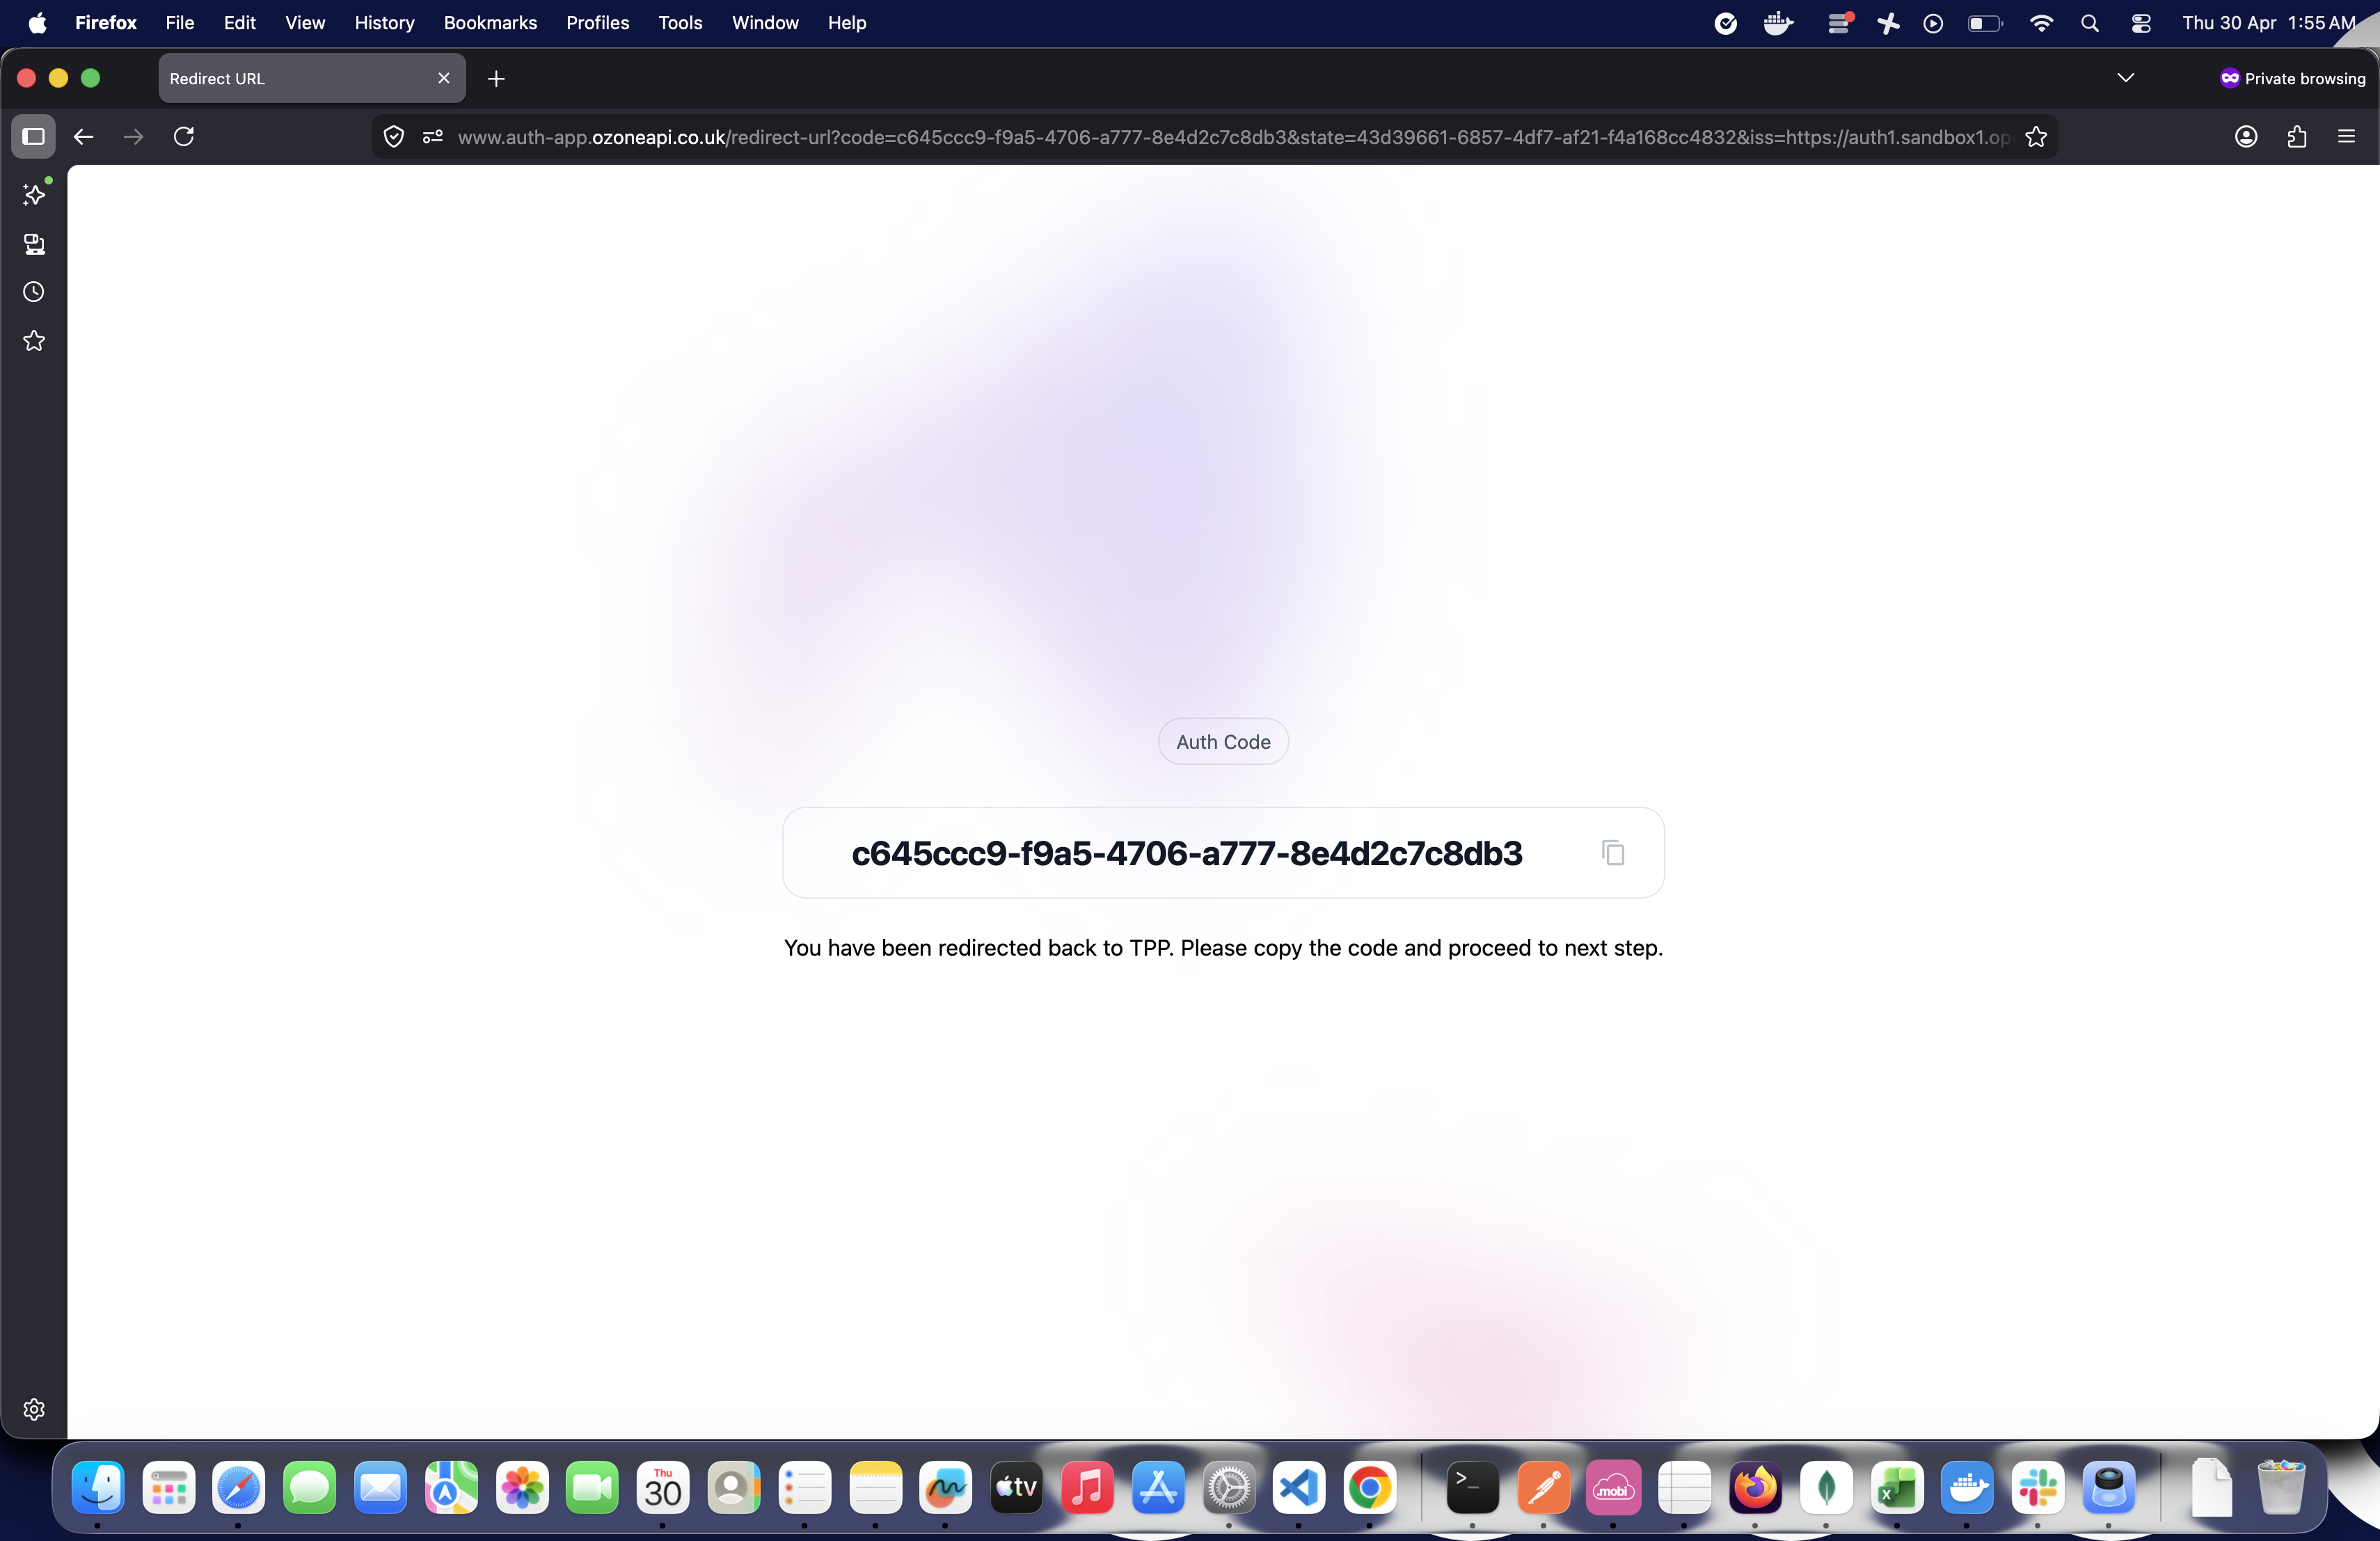
Step 9: Exchange Authorization Code for Tokens
Request: 60 - DC -> OFP: POST /token [Auth-code Grant]
- Before sending, you need to create a new private_key_jwt (repeat Step 3 or it may happen automatically in a pre-request script).
- POST to the token endpoint with:
grant_type:authorization_codecode: the authorization code (from Step 8)redirect_uri: must match the one used in PARcode_verifier: for PKCE (automatically set)client_assertion_type:urn:ietf:params:oauth:client-assertion-type:jwt-bearerclient_assertion: the signed private_key_jwt
- Response includes:
access_tokenrefresh_tokenid_token- Consent ID in
authorization_details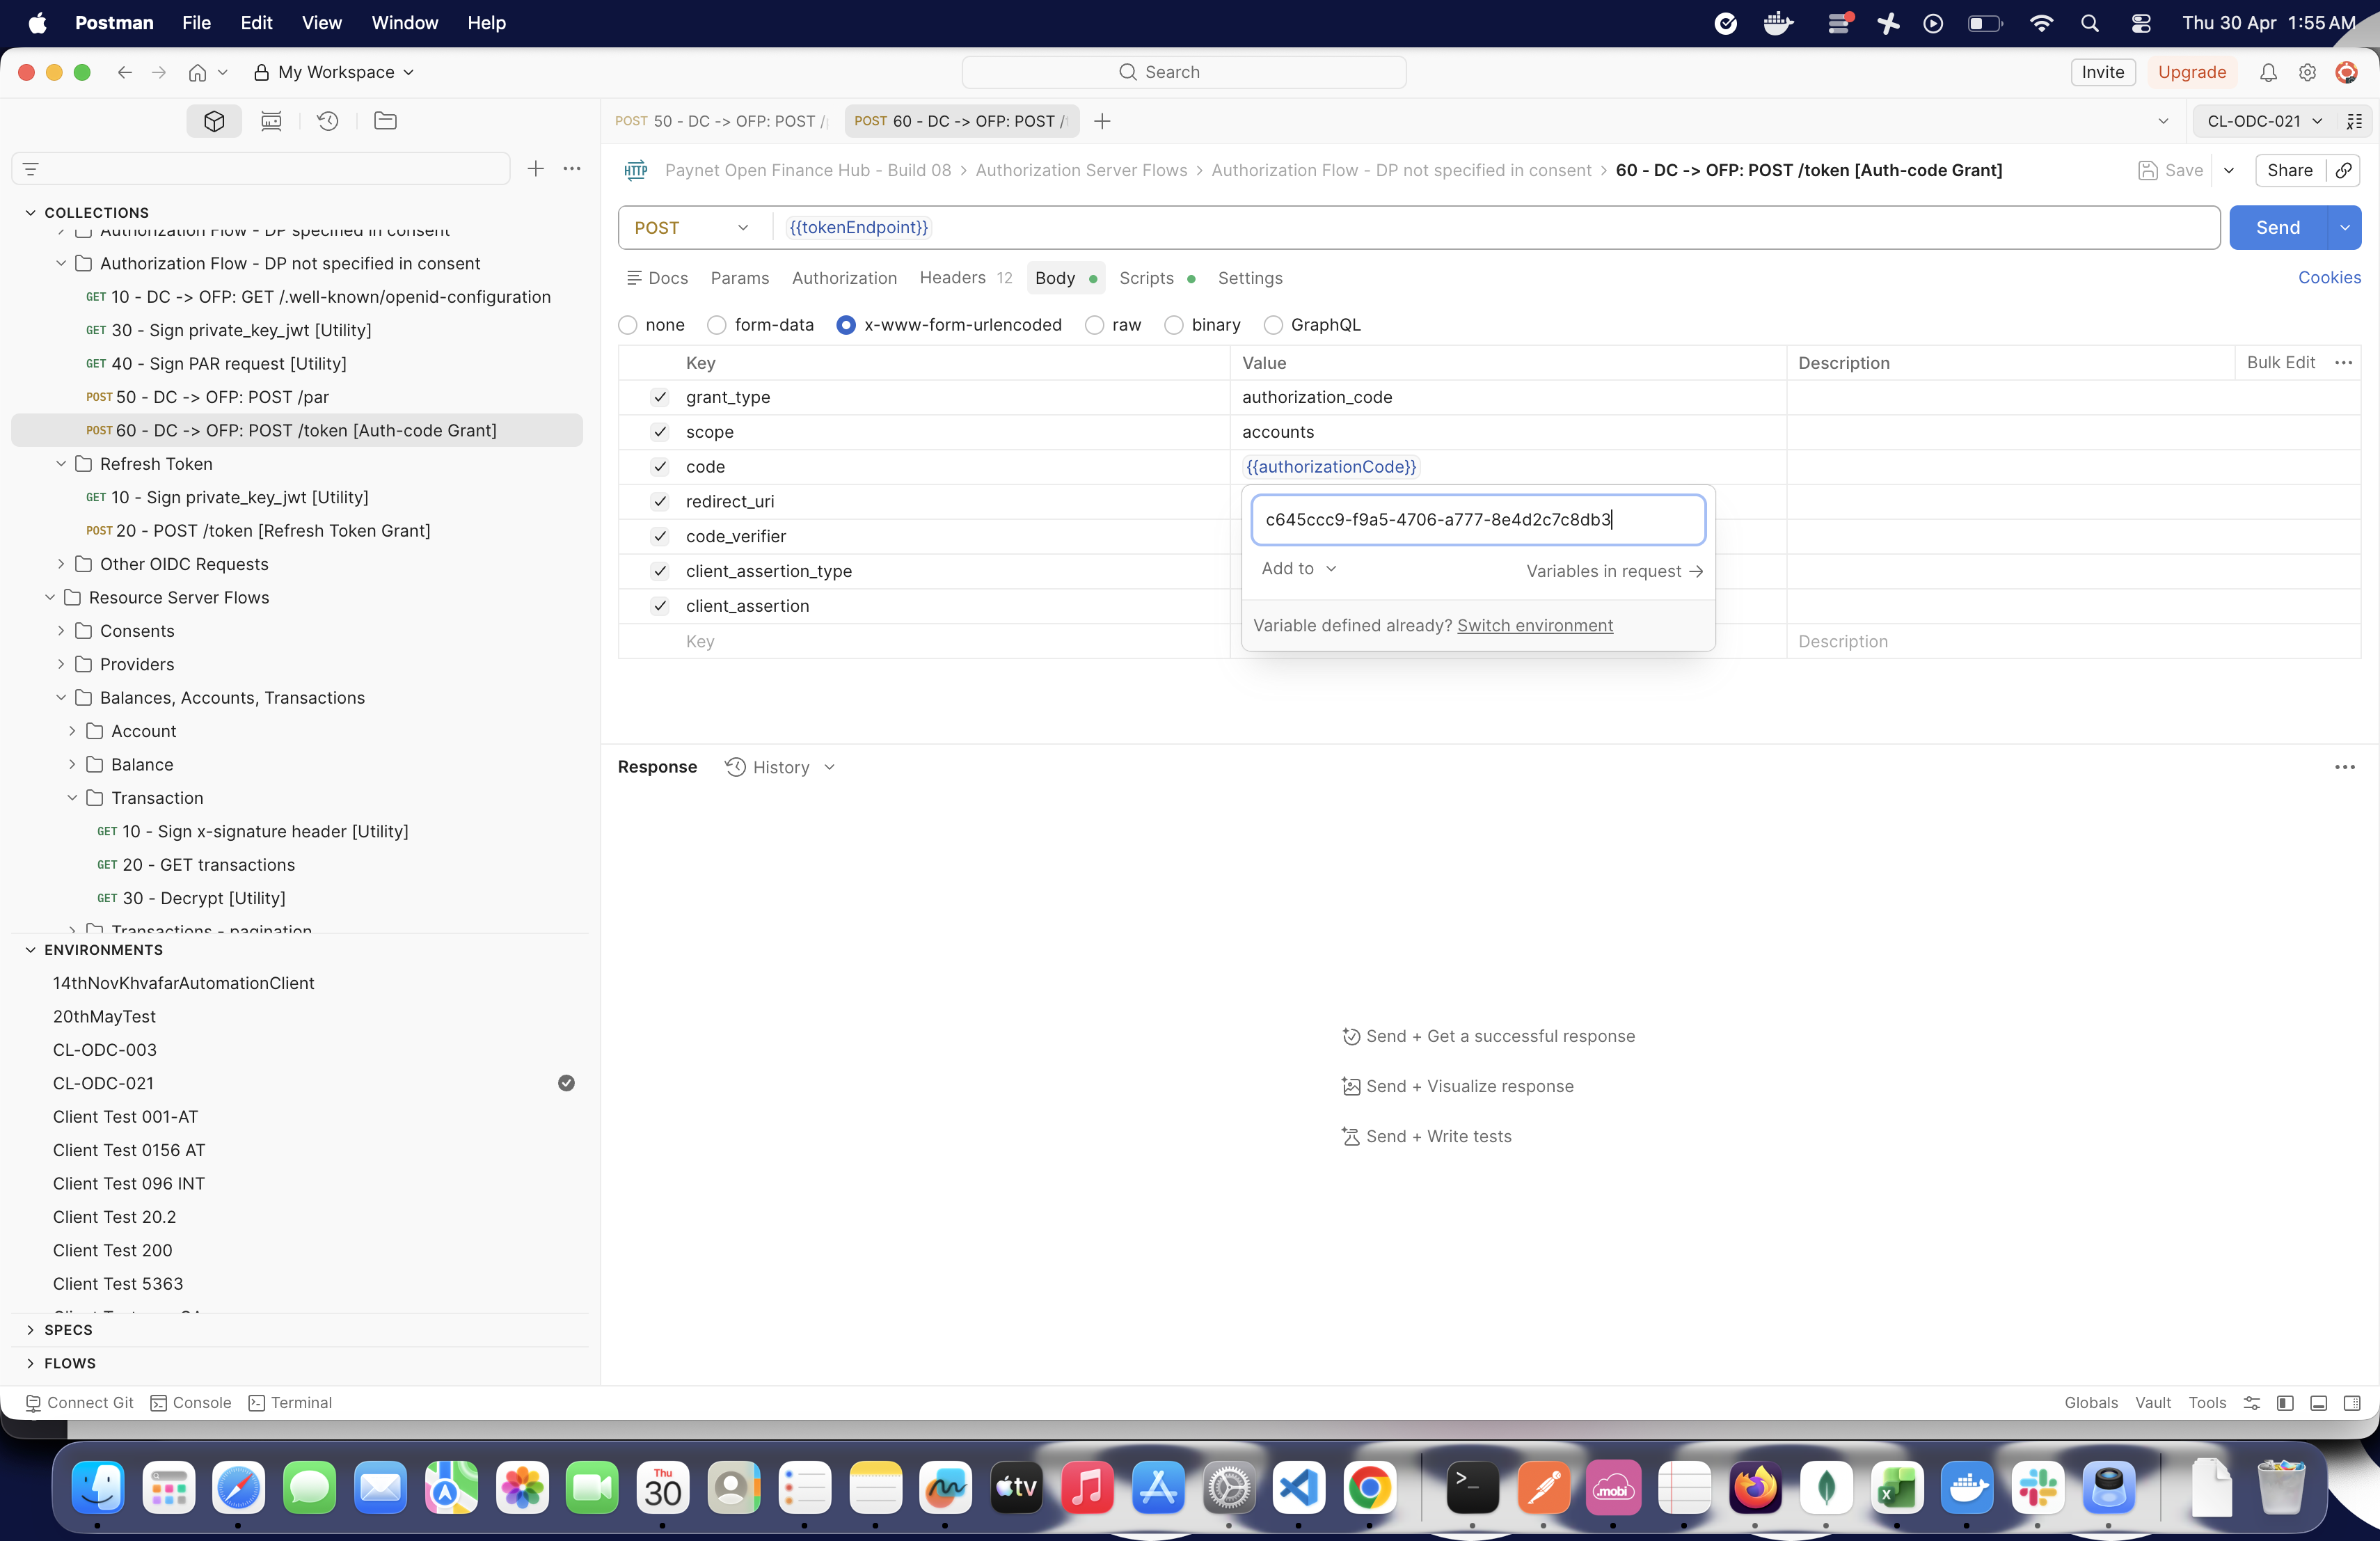
- Previous
- Downloads
- Next
- Contact Us